
How to open System Restore
First, type 'system restore' in the Start Menu search field and press Enter or click on the search result. Alternatively, you can go to Start Menu -> All Programs -> Accessories -> System Tools -> System Restore.

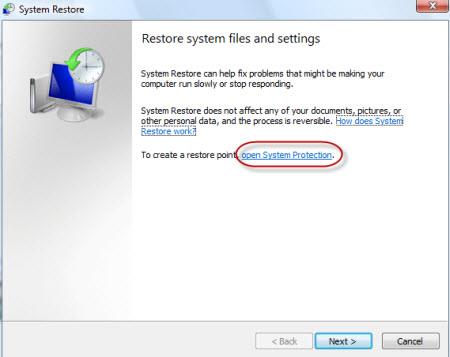
The main System Restore window will now open. Click on the 'open System Protection' link shown below.
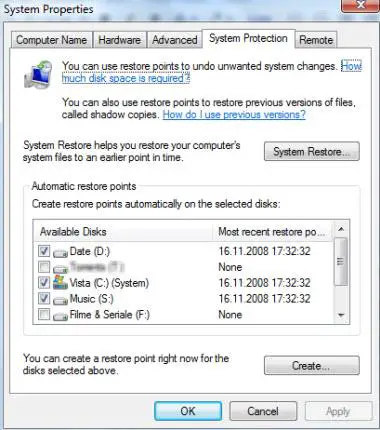
In the new window you will see a list with all your partitions and when was the most recent restore point created.
How to disable System Restore
Each partition on which System Restore is enabled has a box checked on its left. To disable System Restore on any of the selected partitions you need to uncheck those boxes. Unchecking all boxes will mean that System Restore is completely disabled.
When you uncheck a box, you will receive a warning like the one shown below.

Click on 'Turn System Protection Off' and System Restore will be disabled.
NOTE: Unless you use other system recovery tools, it is recommended to leave System Restore enabled at least for your main system 'C:' drive.
How to enable System Restore
Enabling System Restore on other partitions than the 'C:' drive is very easy. In the System Protection tab, simply check the other partitions for which you want to enable it.
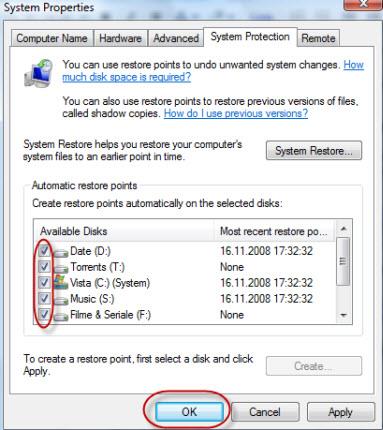
When done, click on OK. From now on, System Restore will create restore points for all the partitions that you have selected.
No comments:
Post a Comment
Note: only a member of this blog may post a comment.